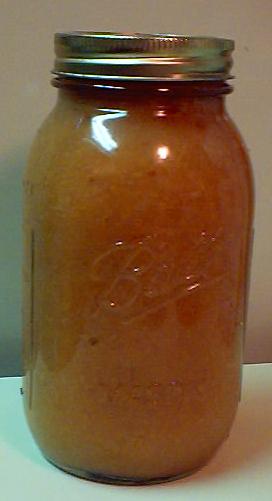
It is very easy to make and can your own apple cider. Actually, if you are making applesauce, you can have extra juice from cooking the apples. This is an easy recipe for making apple cider, although it is called apple cider, it is not fermented. This will turn out much tastier than any store bought apple cider and by selecting the right kind of apples to use the cider will be so sweet it will not need any sugar, making it actually healthy for, unlike many store bought ciders.

The difference between cider and apple juice is that apple cider is raw apple juice that has not undergone any filtration and will still have some coarse particles.
Prepared using this recipe, your jars of apple cider should have a shelf life of 18 months to 2 years, all without any special attention at all.
Directions for Making Cider
Ingredients and Equipment
- Apples
- Filters (Cheese cloth, coffee filters, etc SKU: 006201780
- Water bath canner SKU: 009420267
- Jar Grabber (for hot jars) SKU: 006200341
- Ball Jars SKU: 001280011
- Lid lifter SKU:009400821
- Jar funnel SKU: 006200396
- Large spoon or ladle SKU: 006201049
- At least 1 large pot SKU: 009420267
- Sieve (metal/plastic sieve or colander) SKU: 006202307
Recipe and Directions
Step 1- Selecting the apples: This is the most crucial step to entire process, because you will need sweet apples so that you do not need to add any sugar. Apples like Red Delicious, Gala, Fuji, and Rome are great for cider, and make sure you use a mixture instead of all one type. Honeycrisp and Pink Lady are also wonderfully sweet apples.
Step 2-How many apples and where do I get them? You can always pick your own, or get them from your local grocer. Although many people do enjoy going to their local farmer’s market or orchard for bulk purchases (I also have always felt these are the places to go for the freshest produce). You will yield about 12 to 20 quarts of cider for every bushel of apples, although it is safe to count on 15-16 quarts.
Step 3-Wash the Jars and Lids: It is important to have your jars and lids already cleaned by the time you start the cider making process so you are not challenged with the task of doing everything at the same time. I would recommend using the sanitize cycle in your dishwasher, but if you do not have a dishwasher with a sanitize cycle, you can wash the containers in hot, soapy water and rinse, then sanitize the jars by boiling them 10 minutes, and keep the jars in hot water until they are used. Keeping them hot will prevent them from breaking when you fill them with cider. Put the lids into a pan of hot, but not quite boiling water for 5 minutes and use the lid lifter to pull them out.
Step 4-Wash and cut the apples: Wash apples in plain cold water, and chop them without peeling them.
Step 5-Cook the apples: In a larger, thick-bottomed pot, put about 4 inches of water and a good portion of apples (make sure they are completely immersed) into the pot and heat on high with the lid on. Once it begins to steadily boil turn the heat to medium until the apples are soft all the way through. If you have an electric juicer, simply juice the chopped apples and skip to step 7.
Step 6-Sieve the cooked apples: There are quite a few ways to separate the juice from the pulp, skins, seeds, stems, etc.